
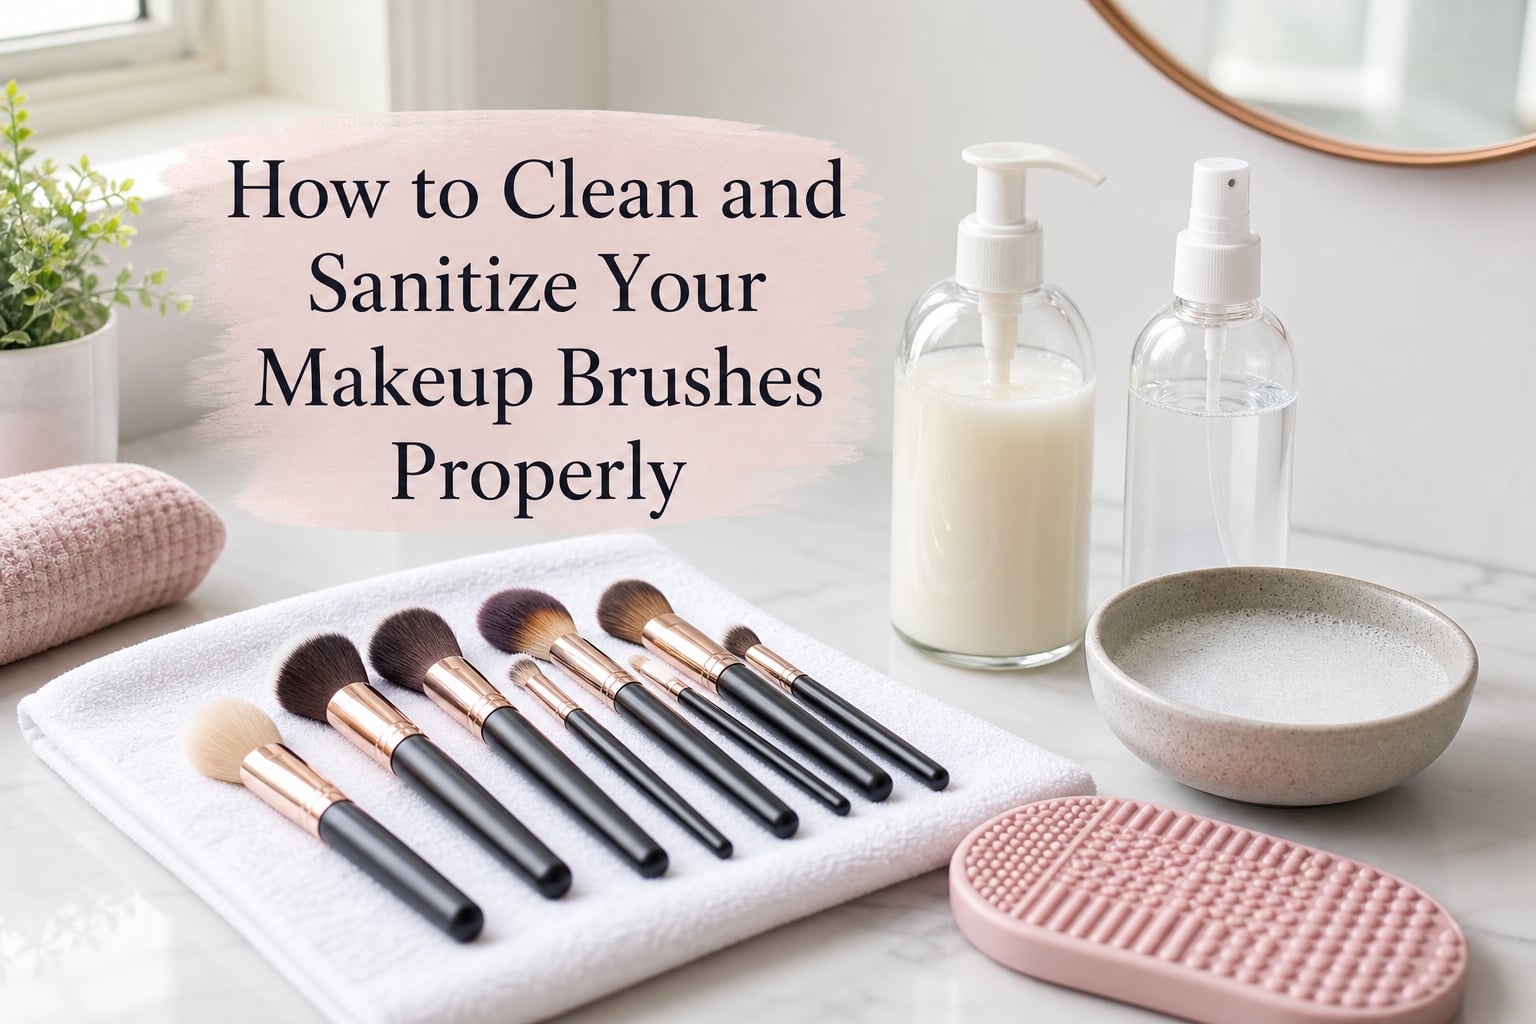
Clean makeup brushes are essential for healthy skin and flawless makeup application. When you use the same brushes day after day without cleaning them, they collect makeup residue, natural oils from your skin, and bacteria that can lead to breakouts, rashes, and even infections. Learning how to clean and sanitize makeup brushes properly will extend the life of your brushes and protect your complexion from unnecessary skin problems.
In this guide, I will walk you through everything you need to know about makeup brush hygiene. You will learn the difference between cleaning and sanitizing, discover what products work best, and follow a clear step-by-step process that keeps your brushes in great condition without damaging them.
Whether you are a makeup beginner or a professional artist working with clients, proper brush care is non-negotiable. Let me show you exactly how to do it right.
Table of Contents
Why Dirty Makeup Brushes Are a Problem
Dirty makeup brushes are a breeding ground for bacteria, mold, and yeast. Every time you dip your brush into a product and sweep it across your face, you transfer oil, dead skin cells, and bacteria back into the bristles. Over time, this creates a contaminated environment that you then apply directly to your skin.
The American Academy of Dermatology warns that dirty brushes can cause acne breakouts, fungal infections, and bacterial infections like staph. A single unwashed brush can harbor millions of bacteria, including E. coli, which transfers from your bathroom environment onto your brushes.
Beyond the health risks, dirty brushes affect your makeup results. Product buildup on bristles makes application streaky and uneven. Colors mix unintentionally when you switch between shades without cleaning. The texture of your brushes changes, making it harder to blend and achieve the finish you want.
Cleaning vs Sanitizing: What Is the Difference?
Cleaning and sanitizing are not the same thing, and understanding the difference matters for proper brush care. Cleaning removes visible dirt, makeup residue, oils, and some surface bacteria from your brushes. Sanitizing kills bacteria, viruses, and fungi that remain after cleaning.
When you wash a brush with shampoo and water, you are cleaning it. This process removes the bulk of the contamination but does not necessarily kill all germs. Sanitizing requires an antimicrobial agent like rubbing alcohol or a professional-grade brush sanitizer to eliminate pathogens that cause infections.
For everyday brush maintenance, regular cleaning is sufficient. For professional makeup artists working with multiple clients, sanitizing between each use is essential. Home users should sanitize their brushes periodically, especially after illness or if they have shared brushes with others.
What You Need to Clean and Sanitize Makeup Brushes
You do not need expensive specialty products to clean your brushes effectively. Many makeup enthusiasts and professionals use affordable household items that work just as well. Here is what you should have on hand.
Gentle shampoo or clarifying shampoo works well for most brushes. Clarifying shampoo removes buildup more effectively than regular shampoo. Many forum users on Reddit recommend baby shampoo because it is gentle on bristles and safe for sensitive skin.
Dish soap is another popular option. Dawn dish soap is widely recommended in makeup communities for cutting through oil and makeup residue. It is effective but can be drying on natural hair bristles, so use it diluted or alternate with a gentler cleanser.
Bar soap offers a budget-friendly option. Antibacterial bar soap lets you swirl your brush directly onto the bar for quick cleaning. Users report that this method is fast and effective for routine maintenance.
Rubbing alcohol is essential for sanitizing. A spray bottle filled with 99% isopropyl alcohol works for quick disinfection between uses. Note that alcohol can dry out bristles over time, so use it for sanitizing rather than deep cleaning.
A brush cleaning mat or textured surface helps agitate the bristles and remove trapped product. You can buy a specialized cleaning mat or use a clean silicone oven mitt or textured sponge from your kitchen.
How to Clean and Sanitize Makeup Brushes: Step-by-Step Guide
Follow this process to thoroughly clean and sanitize your makeup brushes. Set aside about 15-20 minutes for this routine.
Step 1: Gather Your Supplies
Lay out your dirty brushes, gentle cleanser, rubbing alcohol, and cleaning mat. You will also need clean towels for drying and a cup of lukewarm water. Avoid hot water, which can loosen the glue that holds bristles in the ferrule.
Step 2: Wet the Bristles
Hold each brush under running lukewarm water with the bristles pointing downward. Wet only the bristles, keeping water away from the ferrule (the metal band connecting bristles to handle). Water inside the ferrule can dissolve the glue and cause bristles to shed.
Step 3: Apply Cleanser and Swirl
Squeeze a small amount of shampoo or dish soap into your palm or onto your cleaning mat. Swirl the wet brush in circular motions to work up a lather. Watch the soap change color as makeup residue lifts from the bristles.
For stubborn foundation or cream products, you may need to repeat this step two or three times until the lather stays clean. Use gentle pressure to avoid bending or damaging the bristles.
Step 4: Rinse Thoroughly
Rinse the brush under running water with bristles pointing down. Continue until the water runs completely clear and no soap residue remains. Leftover soap can make bristles feel stiff and attract more dirt after drying.
Step 5: Sanitize
For brushes that need sanitizing, spray the bristles lightly with 99% isopropyl alcohol after rinsing. Let it sit for 30 seconds to kill remaining bacteria. For professional use between clients, this sanitizing step is mandatory rather than optional.
Step 6: Reshape and Dry
Gently squeeze excess water from the bristles with a clean towel. Reshape the brush head with your fingers, restoring the original form. Lay the brush flat on a towel with the bristles extending over the edge of a counter or table. This position allows air to circulate around all sides and prevents water from seeping into the ferrule.
Never stand brushes upright to dry. Water flows down into the ferrule and handle, causing damage over time. Avoid using hair dryers or direct heat, which can warp synthetic bristles and melt glue.
How Often Should You Clean Makeup Brushes
Cleaning frequency depends on how often you use each brush and what products you apply with it. Brushes used with liquid and cream products need more frequent cleaning because these formulas trap bacteria more readily than powders.
Foundation and concealer brushes should be cleaned every 3-4 days if you use them daily. Liquid products build up quickly and harbor bacteria in damp conditions. For professional makeup artists, these brushes require sanitizing after every single use.
Eye brushes can go longer between cleanings if you use them with powder products. Clean them every 1-2 weeks for personal use. If you switch between colors frequently, spot clean or use a brush spray between shades.
Powder and bronzer brushes need cleaning every 2-4 weeks. Powder does not trap bacteria as readily as liquids, so these brushes stay cleaner longer.
Brushes used for cream products like gel eyeliner or cream blush should be cleaned weekly. These products never fully dry on the brush and become bacteria magnets.
How to Dry Makeup Brushes Properly
Proper drying technique matters just as much as proper cleaning. Many people ruin their brushes during the drying phase, leading to shedding, misshapen bristles, and mold growth.
The best method is to lay brushes flat on a clean towel with the bristles extending over the edge of a surface. This position allows gravity to help water drip away from the ferrule while air circulates around all sides of the brush head.
Reshape the bristles with your fingers before drying. If your brush has a specific shape like a tapered point or angled edge, mold the damp bristles back into that form. Brushes that dry crumpled will never return to their original shape.
Avoid drying brushes upright in a container. Water pools inside the ferrule and seeps into the handle, causing the glue to break down and bristles to shed. Do not dry brushes in direct sunlight or near a heater. Heat damages synthetic fibers and weakens the adhesive holding bristles in place.
Most brushes take 12-24 hours to fully dry. Synthetic brushes often dry faster than natural hair brushes. Resist the urge to use a blow dryer or heating tool to speed up the process.
Common Makeup Brush Cleaning Mistakes to Avoid
Even with good intentions, many people damage their brushes by making avoidable mistakes. Here are the most common errors and how to prevent them.
Soaking the entire brush in water is a frequent mistake. The ferrule and handle should never be submerged. Water dissolves the glue that holds bristles in place and can cause wooden handles to crack or warp.
Using water that is too hot weakens the adhesive in the ferrule and can permanently damage synthetic bristles. Always use lukewarm or cool water for cleaning.
Scrubbing too aggressively bends and breaks bristles, especially on delicate eye brushes. Gentle swirling motions clean effectively without causing damage. If your brush has dense packing, work the cleanser through patiently rather than forcing it.
Using harsh chemicals like bleach or strong household cleaners destroys bristles and leaves residue that irritates your skin. Stick to gentle shampoos, dish soap, or products specifically designed for brush cleaning.
Sleeping on wet brushes by leaving them in a pile prevents proper drying. Damp brushes left overnight can develop mildew and a musty smell. Always lay them out with space between each brush for air circulation.
DIY Natural Cleaning Solutions That Actually Work
If you prefer natural alternatives or want to avoid commercial products, several DIY solutions clean brushes effectively without harsh chemicals. These options work well for routine cleaning and are gentle on both synthetic and natural bristles.
Baby shampoo and olive oil makes an effective cleaning solution. Mix one part baby shampoo with one part olive oil. The shampoo cleans while the oil conditions natural bristles and breaks down stubborn makeup. Rinse thoroughly to remove the oil residue.
White vinegar solution works as a natural sanitizer. Mix one part white vinegar with two parts lukewarm water. Soak just the bristles for a few minutes, then rinse thoroughly. The vinegar smell dissipates after drying. This method is popular among users looking for chemical-free alternatives.
Baking soda paste helps with stubborn product buildup. Mix baking soda with a small amount of water to form a paste. Gently work it through the bristles, then rinse completely. This method is more abrasive, so use it sparingly on brushes with delicate fibers.
Coconut oil and castile soap creates a conditioning cleanser for natural hair brushes. The coconut oil helps remove waxy and oily products while the soap cleans. Rinse well to prevent oil residue from attracting more dirt.
Always patch test DIY solutions on one brush first to ensure they do not damage your specific bristle type. Natural hair brushes respond differently than synthetic ones to oil-based cleansers.
FAQs
Does Dawn dish soap disinfect makeup brushes?
Dawn dish soap cleans makeup brushes effectively by removing oil, makeup residue, and dirt, but it does not disinfect. Dish soap is a surfactant that washes away contaminants but does not kill bacteria on contact. To disinfect your brushes, you need to follow cleaning with a sanitizing agent like 99% isopropyl alcohol. Many makeup artists use Dawn for the cleaning step because it cuts through oils and product buildup, then sanitize afterward for complete hygiene.
What do professionals use to clean makeup brushes?
Professional makeup artists typically use a combination of brush-specific cleansers, gentle shampoos, and disinfecting agents. Many professionals rely on 99% isopropyl alcohol for quick sanitizing between clients, spray brush cleaners for fast spot cleaning, and deep cleaning solutions like Brushampoo or mild shampoo for thorough weekly cleaning. Some carry instant brush cleaners that sanitize and condition simultaneously for on-set convenience.
How do you clean and disinfect makeup brushes after each service?
To clean and disinfect brushes after each client service, first wipe excess product from the bristles with a clean tissue. Spray the bristles with a brush sanitizer or 99% isopropyl alcohol and wipe on a clean towel. For brushes used with cream or liquid products, wash with gentle shampoo and lukewarm water, then spray with sanitizer. Professional standards require sanitizing all brushes between clients to prevent cross-contamination and protect client health.
Does rubbing alcohol sanitize makeup brushes?
Yes, rubbing alcohol sanitizes makeup brushes effectively. Isopropyl alcohol at 70-99% concentration kills bacteria, viruses, and fungi on contact when applied properly. Spray the bristles lightly and let them sit for at least 30 seconds for disinfection. However, alcohol dries out bristles over time, so use it for sanitizing rather than as your primary cleaning agent. Always follow with conditioning if you use alcohol frequently on natural hair brushes.
Conclusion
Learning how to clean and sanitize makeup brushes properly is one of the most impactful changes you can make for your skin health and makeup application. Dirty brushes contribute to breakouts, infections, and uneven product application. A consistent cleaning routine keeps your tools in top condition and protects your complexion.
Start by understanding the difference between cleaning and sanitizing. Clean your brushes regularly based on how often you use them and what products you apply. Follow the step-by-step process I outlined, always keeping water away from the ferrule and drying brushes flat. Avoid common mistakes like soaking handles and using hot water.
Whether you choose commercial cleansers, budget-friendly dish soap, or natural DIY solutions, the key is consistency. Mark a cleaning day on your calendar each week and stick to it. Your skin will thank you, and your brushes will perform better and last longer. Take 15 minutes this week to clean your brushes properly. The results will be visible in your next makeup application.